how to shoot and edit better photos using your smartphone
Let’s face it, we’re not all photographers (and we don’t all need to be), but we can all take better photos of our kids, pets, vacations, and lives without going out to buy a fancy new camera that we have no idea how to use. Today I’m sharing my best tips with you on how to create and take better photos using your phone and how to bring them to life even more with presets and editing.
Using Your Phone’s Camera
Clean Your Lens
Before you start taking any photos, make sure your lens is clean! Use a clean cloth (or your shirt) to wipe it down and make sure there is no dirt, dust, or smudges on it afterward.
Lighting
Lighting is the very first thing that you need to master when practicing photography. The definition of photography is the art, application, and practice of creating durable images by recording light. If you don’t get the lighting right straight out of your phone (or camera), it’s very hard and very time consuming to manipulate it post-processing.
If you’re shooting indoors:
turn off any and all artificial lights (even if they’re not in the room you’re shooting in), they have a yellow or blue cast and it can easily ruin a photo
place your subject facing or to the side of the light source (window or door), don’t place the light source behind your subject
If you want clean and even lighting, you will want your subject to be facing the light source. If you want moody lighting and you want to play with shadows, shoot your subject from the side of the light source.


If you’re somewhere and you can’t turn the artificial lights off, place your subject facing a natural light source. If there is no natural light source, just shoot! Play around with angles and see what looks better to you. If it’s a moment you want captured capture it!


If you’re shooting outdoors in direct sunlight (noonish):
place your subject to the side of the light, don’t place the light behind them
place your subject in the shade

If you’re shooting outdoors during golden hour (morning or evening):
play around, the light can be placed in front of, to the side of, or behind your subject.
This is the easiest and most forgiving light to shoot in and—in my opinion—the prettiest.

“Should I use my flash?” I get this question a lot. Typically, my answer is no, but there’s always an exception to the rule. If you feel like you need to use your flash, use it.
Exposure
Now that we know how to properly light our subjects, let’s talk about properly exposing them. A properly exposed photo is a photo that has clear visible details and doesn’t have hot spots (bright white spots). Your phone is usually pretty good at this but it’s not perfect, especially if the subject isn’t evenly lit.
Before taking the photo, look at your screen. Are there any really bright spots? If there are, you can usually tap them and your phone will correct it. If your phone doesn’t correct them enough, bring the exposure down even more.
On an iPhone, if you tap the photo a little sun will pop up, drag the sun down to bring the exposure down. If you want to brighten the photo, drag the sun up.

Editing tip: you will have a much harder time fixing photos that are too bright than you will fixing photos that are too dark, if you have to choose one or the other, always go darker.
Focus
Make sure that your subject is in focus. Again, your phone is usually pretty good at this. If your subject isn’t in focus, you can fix it by tapping the subject on your screen. If you’re trying to take a close-up shot of something and it’s not focusing, you might be too close to it.
Shutter Burst
If you’re taking a photo of something that’s moving (kids especially) use the shutter burst feature. Just press and hold the shutter and your phone will continuously take photos. Afterward you can go back through the photos that were taken and pick your favorites! This feature helps capture sharper, more in focus, images of moving subjects.

Don’t over zoom
I don’t care what phone you have — the zoom feature isn’t that great. Try not to use it too much. If you want the subject bigger in the frame, move closer to it. The same thing goes for when you’re editing, don’t crop out too much, you’re lowering the quality of your image big time.
Change your perspective
Move around the subject, get low, stand on something, move closer, move further away, try a bunch of different angles. You never know what could end up elevating your photo to a whole different level.

Have fun
Don’t stress about it! Have fun learning! Play with lighting, exposure, angels, the burst feature, everything. You never know what accidental photos you could take that turn out to be your favorites. The ultimate goal is to capture your life, your loved ones, and your memories. Don’t spend so much time stressing about how it’s not perfect that you forget to capture it at all.


Editing
Okay, now that you’ve taken some photos you like, let’s talk editing. I’m going to show you how I edit my photos with presets and share some tips with you on how to edit.
My favorite editing apps:
Lightroom Mobile — free app and I use lightroom presets.
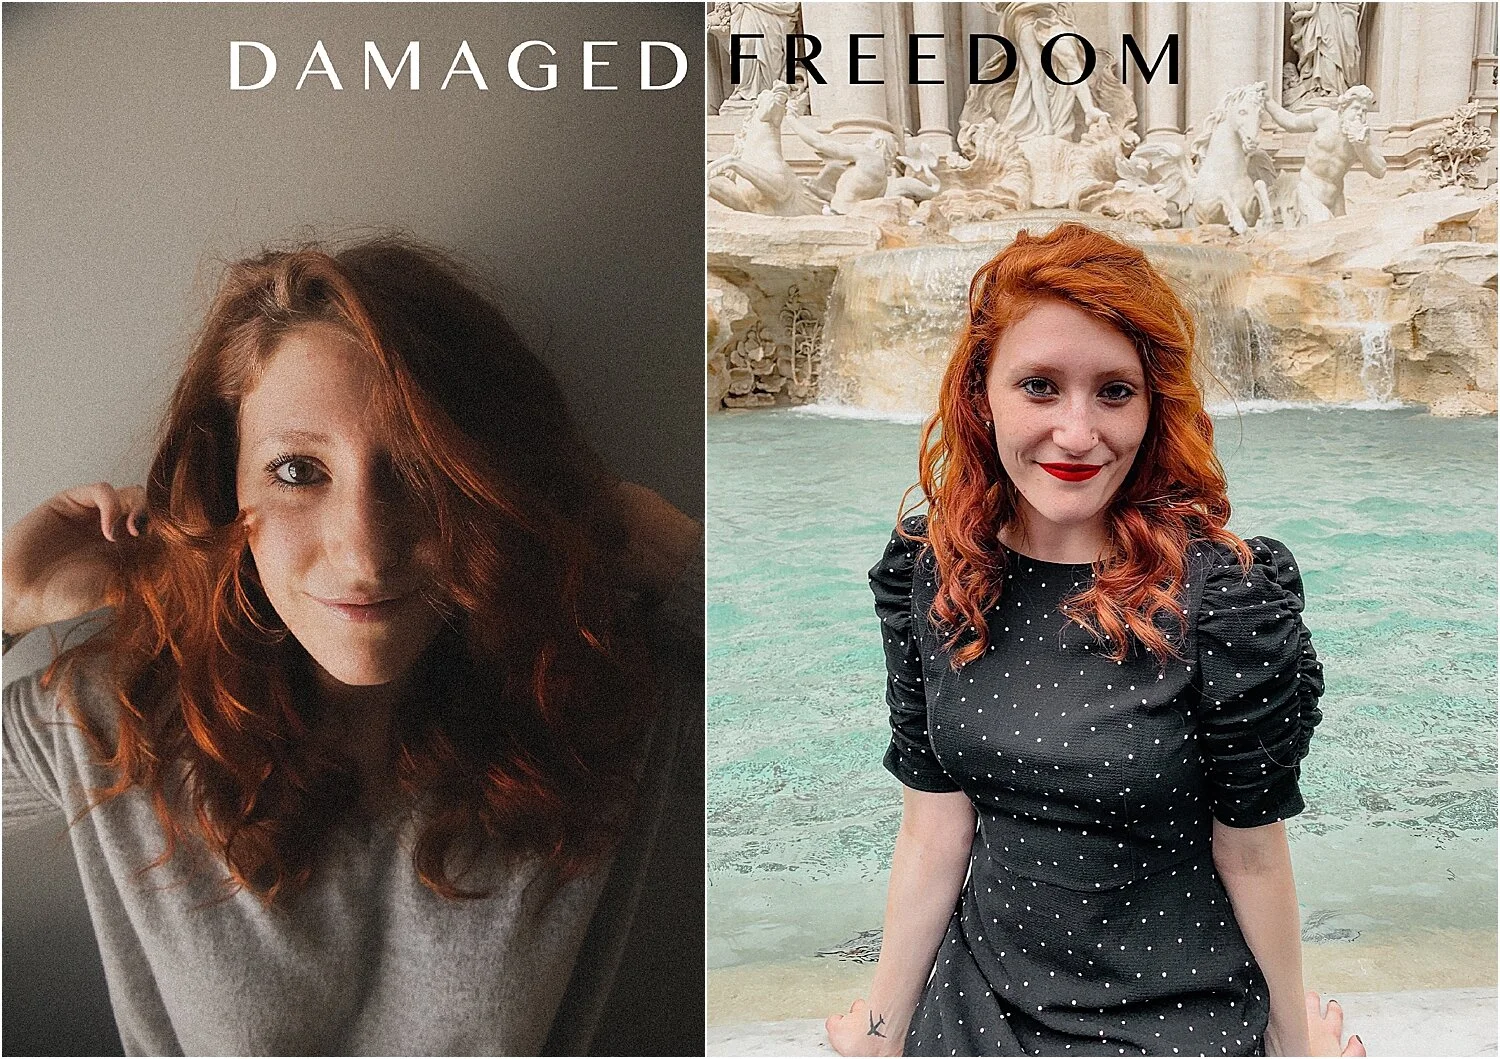
My current favorite presets are Timeless, Vintage, and Antique from the Vintage Collection and Damaged and Freedom from the Freedom Collection.

Tezza — yearly subscription required to access all features and it’s 100% worth it, also has video editing options.
My current favorite Tezza filters are Vintage, Vintage 2, Vintage 3, and Flower.
My current favorite features are Subtitles, Stop Motion, Vintage Film, and Frames (I use this app for video editing more than anything).
If you’re looking for another free app, I used to use VSCO and I did really like it. It comes with a few free filters but the rest you have to buy.
How I edit my photos using BPS Presets
Don’t over-edit
Sometimes, usually when you first try editing, you can’t decide what you like and you end up putting so much on the photo that, not only have you killed the quality, but the photo doesn’t even look real anymore. My rule of thumb is no more than two maybe three (on a special occasion) apps need to be used to edit your photos. Usually one app is more than fine. However, preset layering is sometimes the best option, and sometimes you want to add some vintage or dust effects that Tezza offers so you’ll use Lightroom and Tezza. Use your best judgment while trying to keep in mind that the more times you import it into an app and edit it, the less quality you’ll have.
Exposure
Both Lightroom and Tezza give you the ability to adjust your exposure. Slide the bar to the right to make your photo lighter and slide the bar to the left to make your photo darker.

Highlights and Shadows
After you’ve adjusted the exposure, if you still aren’t happy with the lighting, you might want to play with the highlights and shadows. If you drag the highlights to the left it’ll darken, or flatten, the highlights in your image. If you drag highlights to the right it’ll brighten them. If you drag the shadows to the left it’ll darken the shadows in your image and if you drag the shadows to the right it’ll lighten, or flatten, your shadows.
For me, it’s very rare that I’ll slide my highlights to the right to brighten them. If I play with highlights it’s only to bring them down. Shadows, however, can go either way depending on the mood I’m trying to create with my image.

Curves
Curves allows you to adjust your exposure, highlights, and shadows all in one. It’s a feature that’s available in Lightroom and it’s something that needs practice, I wouldn’t recommend it for beginners. Once you’re feeling confident in your basic editing skills I would start practicing with curves.

White Balance
White balance is the temperature of your photo’s colors. A cooler white balance has more blue tones and a warmer white balance has more yellow tones. You can adjust this in Lightroom under color and in Tezza under temperature. Slide the bar to the right for warmer tones and to the left for cooler tones.

Saturation and Vibrance
A very common mistake I see people make when they first start editing their photos is that they over-saturate and bring the vibrance up too high. Saturation and vibrance are for giving your photos a little something extra, but nothing too extreme. Our phones do a pretty good job, but you know when you take a photo and look at it and think, “this photo doesn’t look like the way I’m seeing it with my eyes.” Vibrance and saturation are for bringing the photo to life. Your photo should still look real, though.

Contrast
Contrast is the degree of difference between tones in your image. If you slide the contrast to the right it’ll create more differences and to left will create less differences. I typically only add more contrast to my photos, it’s very rare that I’ll decrease the contrast.

Have fun
Have fun practicing, learning, and finding your style. Experiment! Drag the sliders all the way one way and all the way the other way to see what these features really can do. These tips are just tips. If my editing style isn’t your editing style, that’s okay. Shoot what you love and edit it the way you love it, these photos are for you.